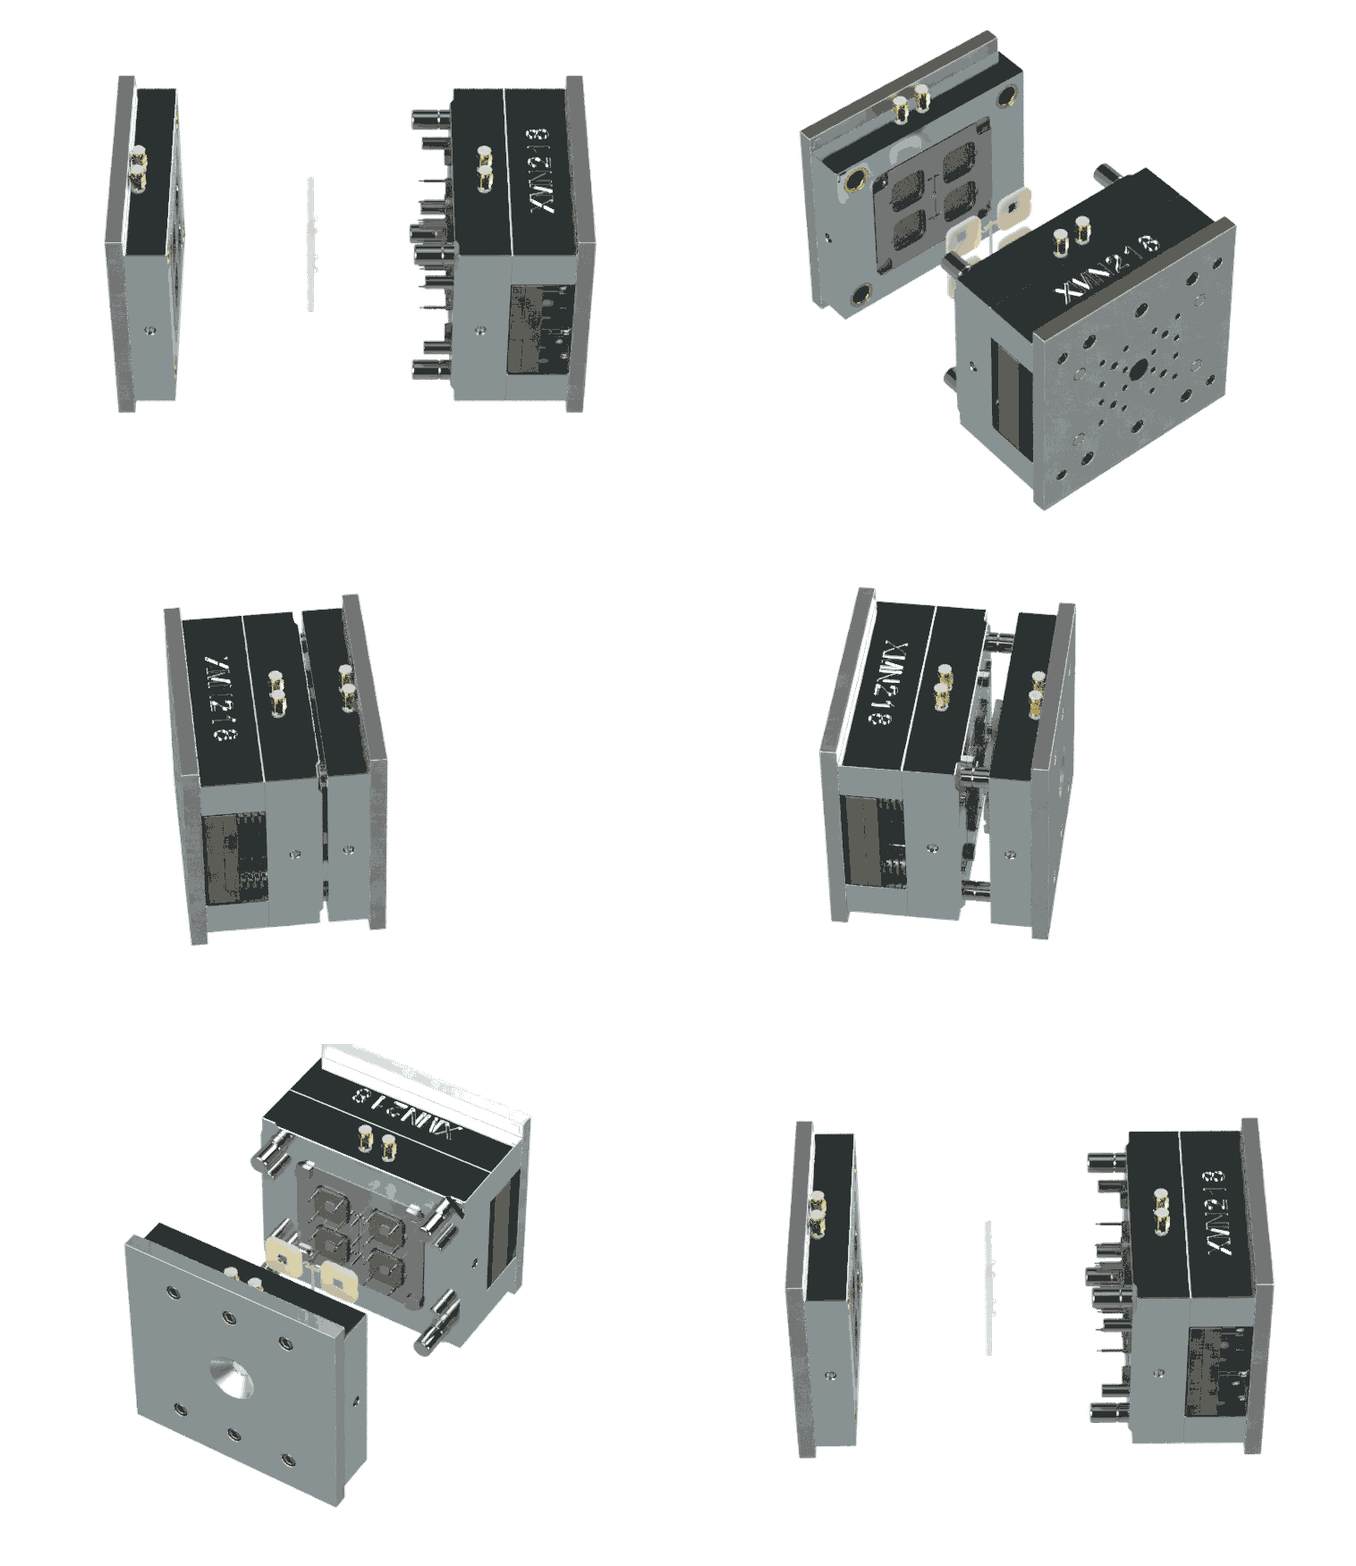
How To Generate Rendered Animations With Fusion 360 & Photoshop
Fusion 360 is a great cad software and its built-in renderer is extremely powerful. However, Fusion is also very limited when it comes to rendering animations. Even more so if you're hoping to do it on a budget. There are workarounds to this, one of which I am going to discuss in this article. That said this is by no means a how-to guide. This is simply a brief explanation of my process for creating the GIFs shown above. In addition to using Fusion 360 & Photoshop, I also used a program called MacroRecorder to automate the rendering process. I strongly suggest using a desktop macro program otherwise, your going to be manually rendering each frame of the animation. However, if you’ve got some extra cloud credits or an education license for Fusion then skip this part because you can actually use Fusion’s cloud renderer to render motion studies.
*If you’re looking for more information about the subject matter in these renders click here to read about the mutesync on case studies page.
Before getting into my process, I briefly want to explain why I didn’t use an external software like Keyshot. If you haven’t heard of it before, Keyshot is a 3d rendering software capable of rendering animations. It has a number of easy-to-use animation tools. Plus, it comes with a vast library of materials and scenes. It also has an arguably more powerful renderer compared to Fusion’s. However, the main drawbacks are its cost and lack of integration. The asking price for a basic Keyshot license is about $1000, which is a very reasonable price considering Keyshot's features. Regardless, it’s hard to justify paying that considering I have no real need for creating rendered animations outside of my own curiosity. The other aspect barring me from using Keyshot was its lack of integration with Fusion 360. In addition to not being able to make changes to the model on the fly, there’s also no way to preserve assembly joints when exporting from Fusion.
Process:
1. Group components based on sub-assemblies. Using fixed joints, join the components of each sub-assembly together. Now using opposable joints, join each of the sub-assemblies together. (Setting joint limits is not necessary)
2. Create a motion study. For smoother animations, use as much of the timeline as possible. This will result in more frames.
3. Set your scene in the rendering tab and fix your camera’s position. (You can do this by moving the camera to the desired position, right-clicking on the navigation cube, hovering over “set current view as home” and selecting “fixed distance”)
4. Set render settings to the desired resolution/quality and run a test render.
(If you want to use Fusion’s cloud render to render the animation, set “render with” to cloud render. Then once the render is done select it in the rendering gallery. Since there’s a motion study in this file, the pop-up window now has a motion study button next to “render as:”. Pressing that button re-renders the model as an mp4 or as frames.)
5. Using MacroRecorder, create a recording of yourself moving to the design tab, progressing the motion study forward by one frame, moving back to the rendering tab, and then starting a new render. Once the local render is done, end the macro recording. Now just speed up the mouse movements, set the macro to repeat 98 times, and press go.
6. Once all of the frames are rendered, open them in the rendering gallery. Using MacroRecorder create a second recording of yourself saving one of the images to your PC and then selecting the “next image” arrow. Run this 99 times or until all of the frames are saved locally.
7. To load all of the frames into Photoshop select File > Scripts > Load Files Into Stack…
8. Once the frames are open select Window > Timeline to bring up the timeline. In the timeline tab press “create frame animation”. Then press the small rectangular button located in the top right corner of timeline tab. In the drop-down menu select “Make Frames From Layers”. (I’m not going to get into the details of making a GIF, but the timeline tab is where you can change things like framerate, add new frames, etc…)
9. Once you’re ready to export, go to File > Export > Save for Web (Legacy). Again, I’m not going to get into the details about what all of these settings do, but they essentially control how the exported file is compressed/reduced in size. The only crucial thing is that “GIF” is selected in the drop-down menu beneath “Preset:”
And that concludes how I generated animated GIFs using Fusion 360, Photoshop, and MacroRecorder. Hopefully, this is never something you ever actually have to do. However, if you need a sharp-looking animation in a pinch, this should do the trick. It may be extremely time-consuming but I think there are a bunch of unexplored possibilities using this method. Maybe one day the folks at Autodesk will add more animation tools, but until then feel free to reach out with questions, corrections, or suggestions. Thanks!


